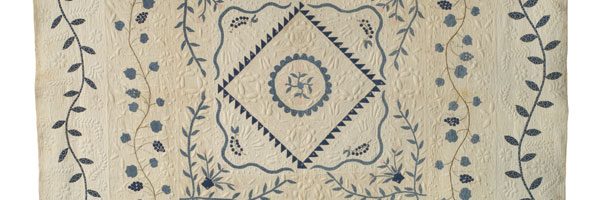
How do they do it? Judy’s Rainbow by Betty Busby
Judy’s Rainbow by Betty Busby
Size: 46in x 70in
How did you come up with the idea for the quilt?
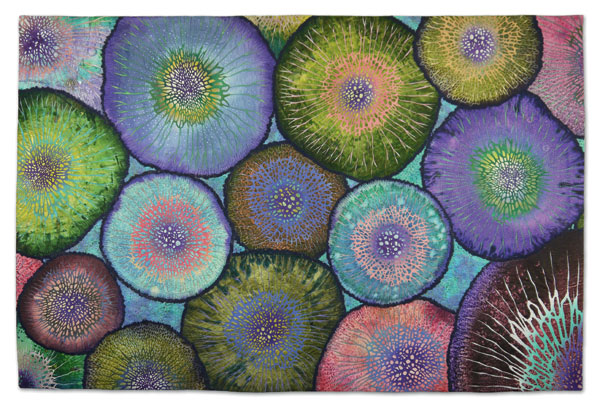
The title originates from the person who commissioned this piece. It refers both to the spectrum of colours that lichen comes in, and the gorgeous rainbows that she can see from her new home in Hawaii. I’m a big admirer of lichen … it’s found all over the world, from the arctic to the tropics, and even clings to rocks in the high desert where I live. Because it comes in so many colours and forms, it’s an ideal starting point for me to abstract its structure and play with contrasts in line and shape. This piece incorporates machine-cut non-wovens from my original drawings that are combined with hand-painted and dyed silks.
Did you have an overall design completed for the quilt before you started or did the quilt come together as you went?
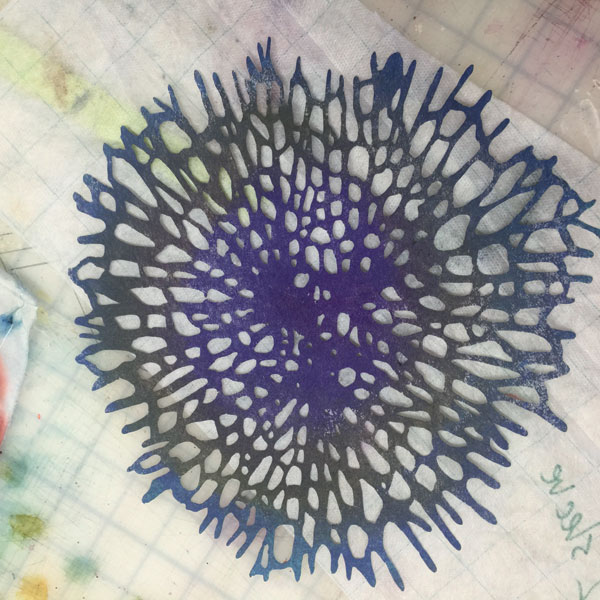
For me, the first step is drawing. I make a simple black-and-white image that I will scan into my machine cutting software. I use a Cameo Silhouette – see Photo 1

How is the quilt constructed and what products did you use?
I paint the non-woven material I’ll use with ordinary acrylic paints — circular gradations for the centre shapes and a very dark blue for the outer edges that I will use to frame each piece of silk — see Photos 2 and 2a.
Create your own Circles and Hexies Medallion quilt or coverlet
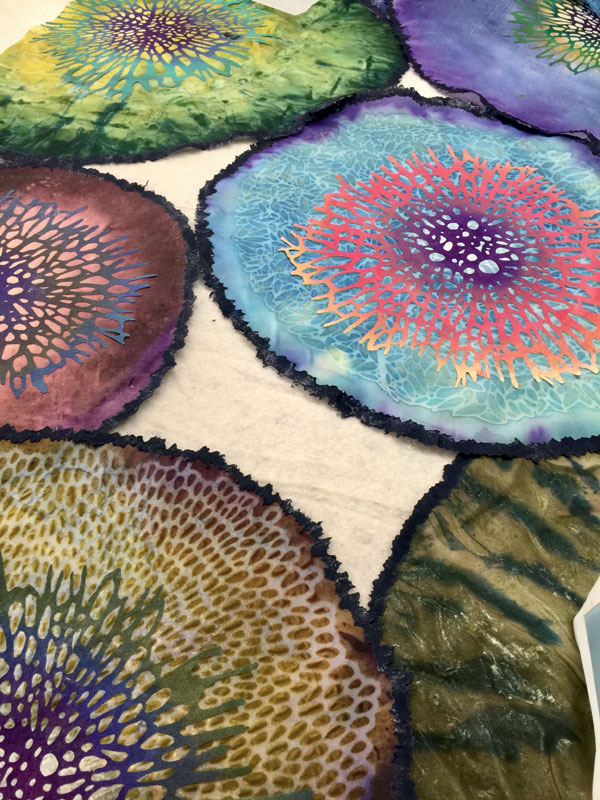
Photo 3 shows one of the freshly cut shapes; it has fusible on the back so I can iron it onto my silk before I stitch it down.
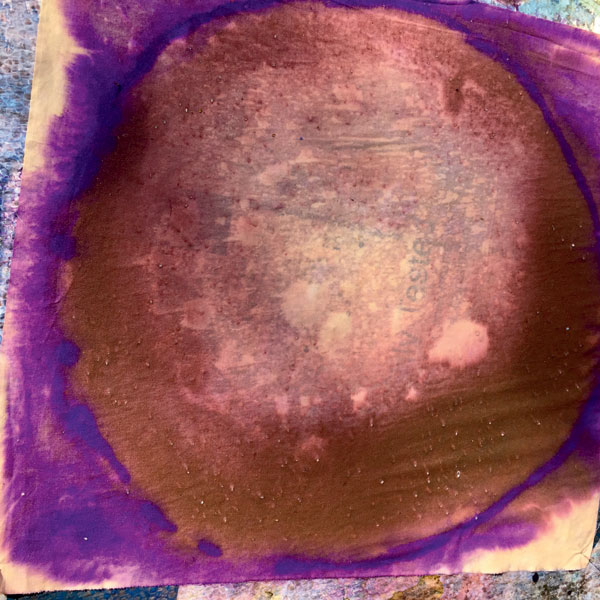
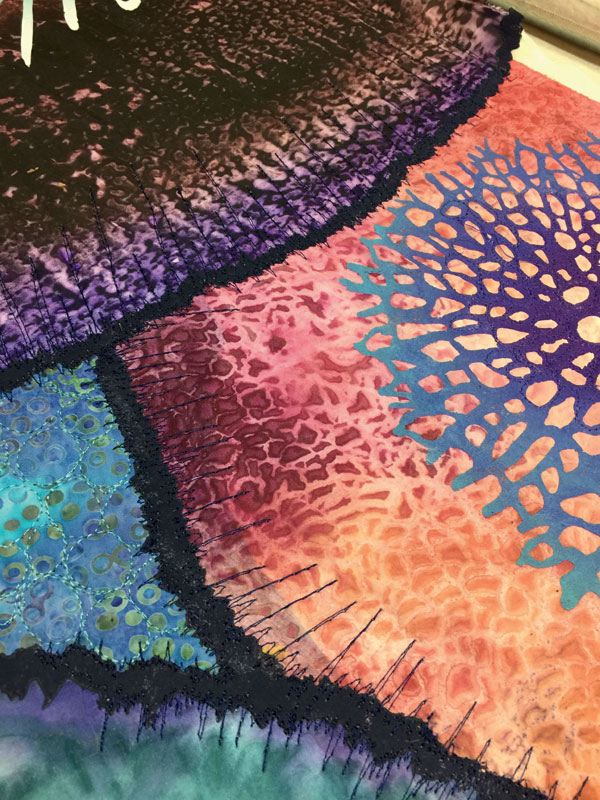
Now to paint the silk — see Photos 4 and 5. I use a wet-on-wet painting system and a mixture of metallic and regular fabric paint. It is more fun than anything! Note that I am developing colour gradations within each piece that will contrast with the non-wovens the machine is cutting out. Each piece of silk is matched with a contrasting non-woven central shape and outlined with a hand-cut dark blue piece of non-woven. This serves two purposes: the dark value adds contrast and frames each circle, and it also covers the raw edges of the silk — see Photos 6, 7a and 7b. I then assemble them right onto my batting (I use 200 per cent cotton). I can move them around until I feel that the colours are in an effective arrangement. The whole assembly is gently pressed onto the batting. Note that the only fusible is on the non-wovens, so the silk itself is not glued down. I find that this avoids the stiff appearance of too much glue and allows the silk to assume its natural beautiful texture (no, I don’t use stabilisers on the silk). It is then quilted. I have a track-mounted machine that is a repurposed commercial Singer straight-stitch model — not a true longarm. I use polyester embroidery thread and a large needle.
Make your own Rainbow-themed crochet bag

You’ll love the Stitching Makes My Heart Sing embroidery
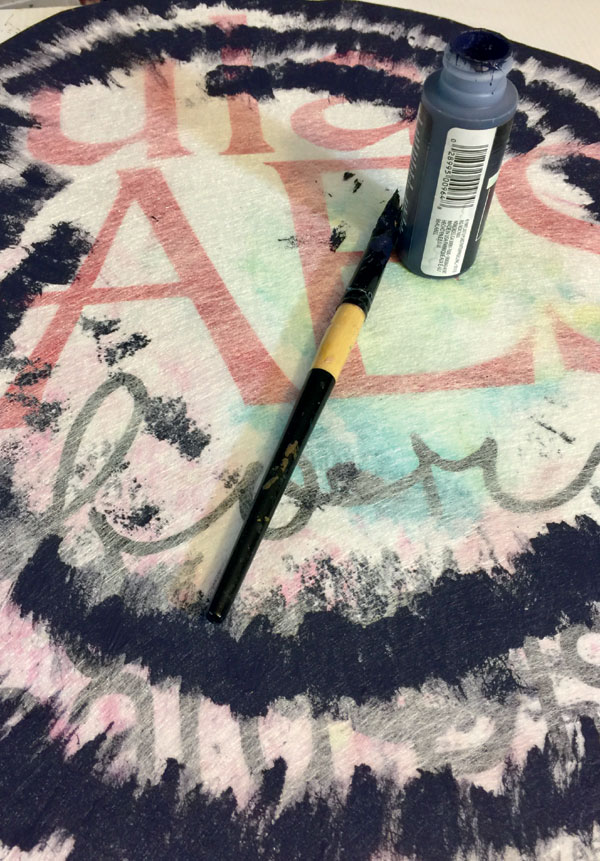
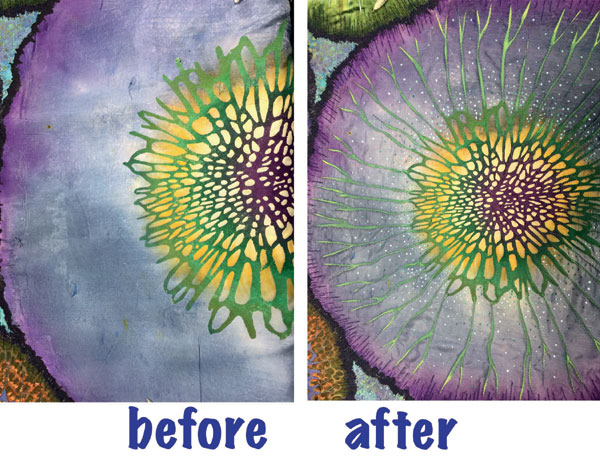
Finally — post production! An important part of my work is the addition of surface design detail after the stitching is complete. Here are several before and after images showing the difference that it makes.
You can see more of Betty Busby’s amazing work on http://www.bbusbyarts.com/!