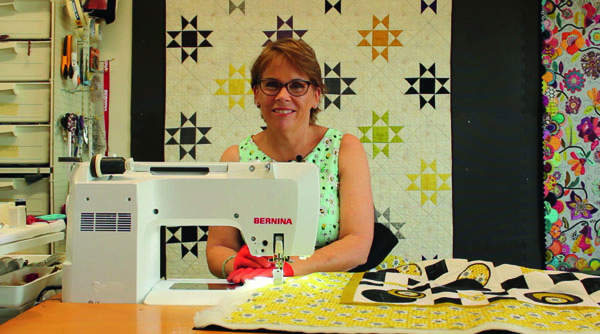
Quilting Advice from Deborah Louie: Take one cross hatch stencils and a walking foot
Do you have cross hatch stencils at home that you bought at a quilt show or at your local patchwork shop and thought, yes, I will use that one day? Perhaps it is still in its packaging in the drawer somewhere. How often do we purchase a patchwork tool for that ONE DAY!
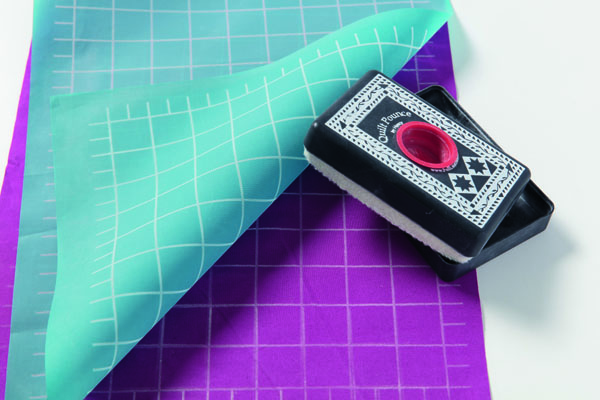
Well, let’s see what we can do with the humble 1in cross hatch stencils. I hope I can inspire you to get it out and start quilting with it. My mesh cross hatch stencils is from Victorian Textiles and is a simple 1in, straight grid.
First, I have pounced the grid on the fabric with a white chalk quilt pounce. This is easy to use — just pounce once on the fabric when you have filled the well with the supplied chalk, then drag the pounce over the surface of the mesh. Don’t keep pouncing and leaving a mountain of powder on the fabric — just swipe once over the fabric.
Learn to paint with fabric and thread to create a landscape quilt! By Caroline Sharkey
The pounce passes over the mesh grid leaving an accurate, non-permanent grid on your fabric. The beauty of using a cross hatch stencils is the lines are perfectly straight and evenly spaced — no guessing and no permanent marks on your fabric. The powder brushes away, leaving no trace after a quick wipe with a damp fabric. You can use the cross hatch stencils two ways: either set straight on your quilt, or place it on a diagonal for a change.
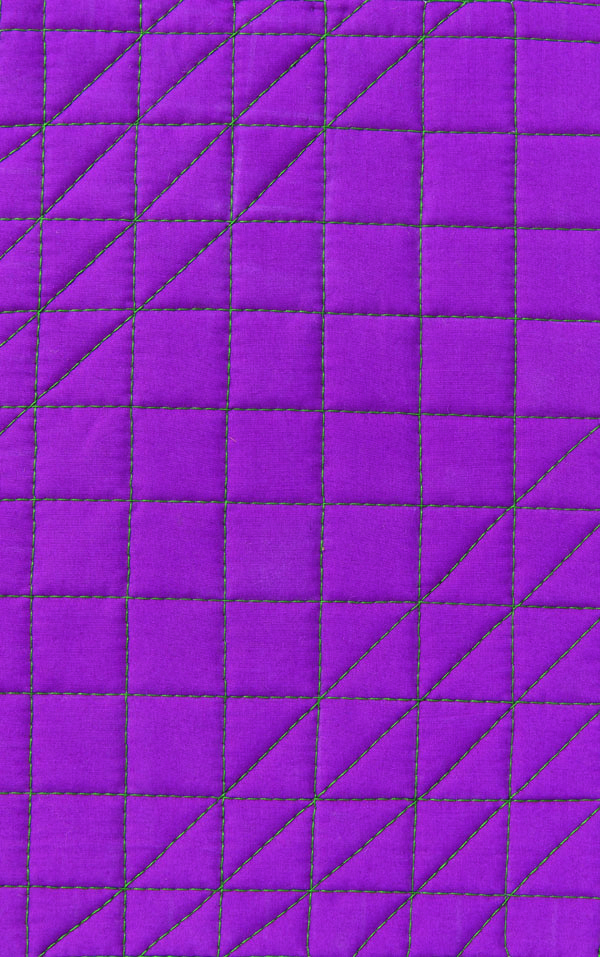
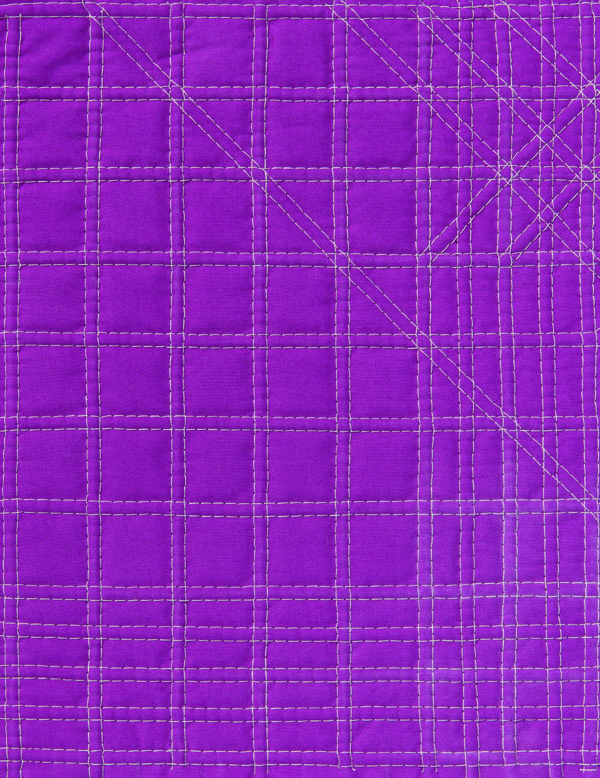
I have simply quilted the first sample of the cross hatch stencils by following the grid line vertically, then horizontally. To add extra appeal, I occasionally quilted on the diagonal. The thread used was a 50-weight cotton thread and the stitch length was 4.0 on my Bernina using the walking foot. This was quick and easy. The diagonal lines create triangles, which add some interest.
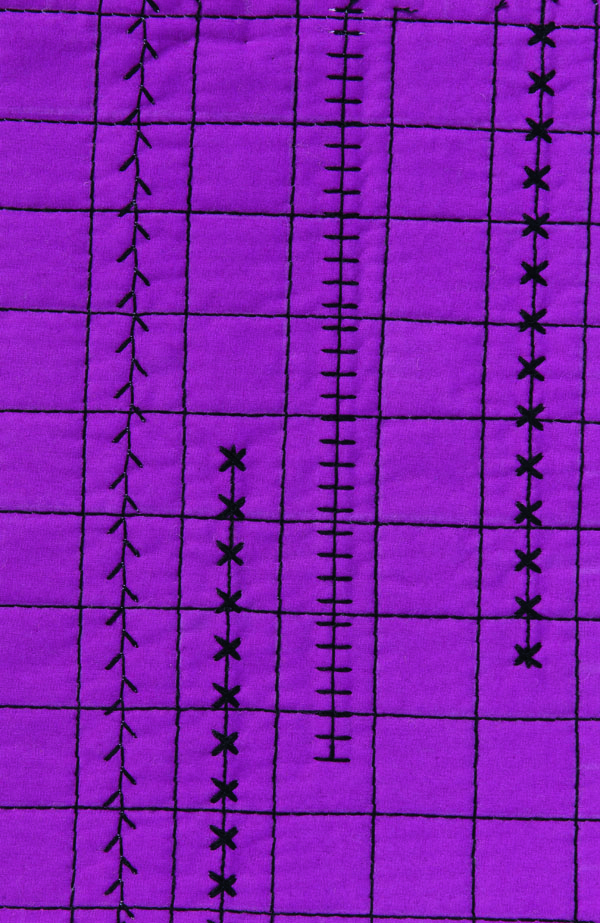
Using a thick 12-weight cotton thread vertically and horizontally, I have added three decorative stitches running vertically in the centre of the squares. The use of the thick black thread gives the decorative stitches dimension and they stand out really nicely. The straight grid stitching was completed with a stitch length of 5.5, a nice long modern stitch.
This was fun! I ignored the horizontal lines and quilted a decorative stitch in various lengths with 12-weight cotton thread. This stitch is formed by six single straight stitches in a line, then the machine stitches horizontally seven times on top of each other.
Learn to make a puzzle quilt! By Magaret McDonald
This makes for a chunky, textural, hand-look stitch on the surface of the quilt. It is a stitch I use often on contemporary quilts of mine, with great success. On the cross hatch stencils grid I changed the length of the stitch, but not the width.
By changing the length, the straight stitches get smaller and the distance between the heavy, wide stitches gets closer. I took a random approach to this and I really like the effect. Have a look on your machine to see if there are decorative stitches like this that you can try.
Keep the decorative stitch you select simple. The walking foot does not work well stitching backwards. Look to select a pattern that moves mostly side to side, or straight, and stitch slowly.
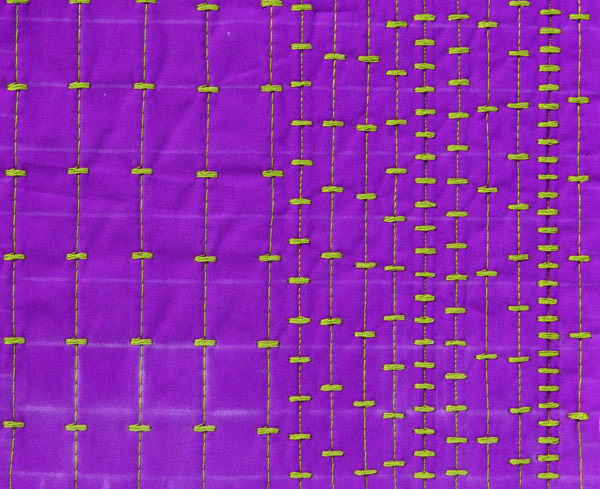
Twin needle quilting produces a great result, something quite different. The secret is to use two threads the same weight, so the tension does not play up on your machine. For this sample, the distance was 4.0mm between the two needles, with horizontal, diagonal and vertical stitching. However, don’t turn the quilt with the needles in your work or you will break the needles.
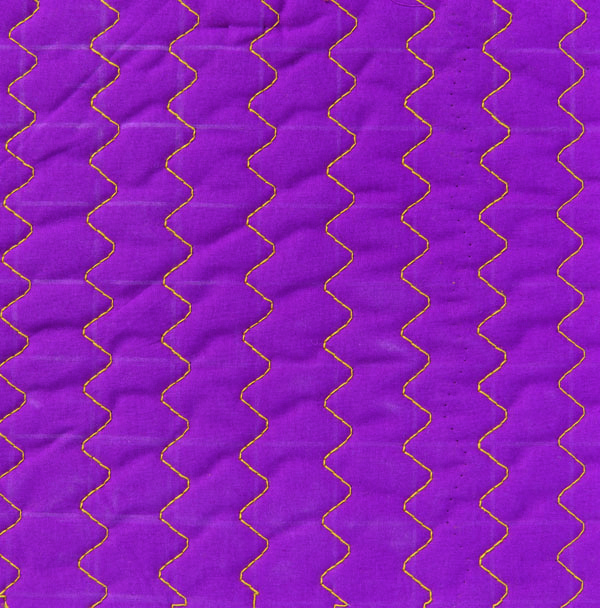
For this terrific wave effect, I have used the Serpentine Stitch on my machine. This is a common stitch that uses straight stitches, but travels left and right, like a zig-zag. For this sample, I lengthened it slightly to about a 3.0 stitch length and just worked top to bottom vertically.
If you use the Pattern Begin button to start every row of stitching at the top, the finished line of stitching will curve together, creating a lovely wave texture on the surface.
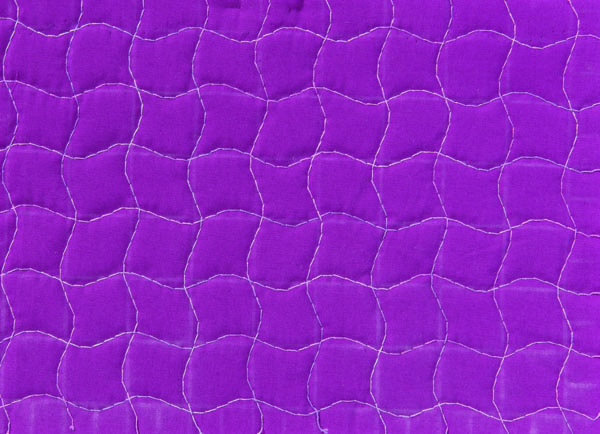 This sample showcases the same Serpentine Stitch, however, I lengthened the stitch length from 3.0 to 6.0. The longer length stretches out the curve and has made a soft, curved cross hatch stencils hatch. Simple to do and very effective.
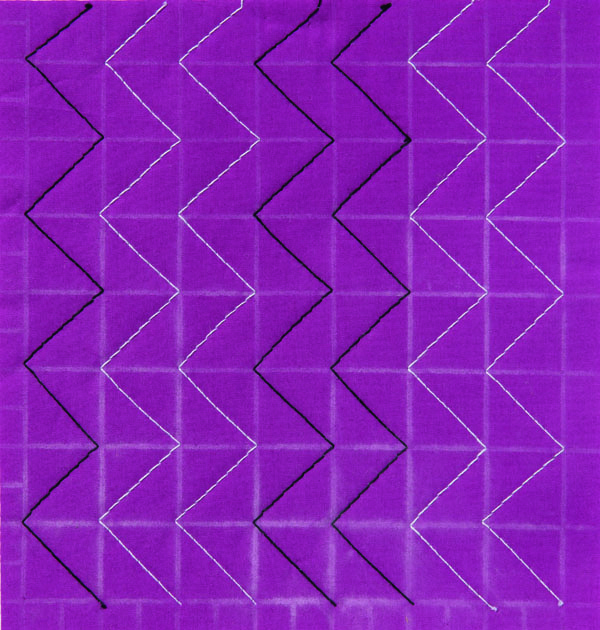
On the last sample, I have created a chevron by stitching across the diagonal of the cross hatch. You can still see the original cross hatch stencils-hatching that was pounced on the fabric. This is easy to create, but you do have to stop at the points, lift up the walking foot and pivot the fabric from left to right.
Learn turned-edge machine appliqué and free-motion quilting! By Rachelle Denneny
Two rows of one colour thread create the chevrons. I worked out that it took eight stitches of a length of 5.5 and I got to the point every time perfectly.
So, after having some fun with a 1in cross hatch stencils and my walking foot, I thought, what can I do now with the free motion foot? Stay tuned as that will be in the next issue. I hope I have inspired you! Sometimes the simplest ideas can be very striking and effective. Go on, have a go …
More expert machine quilting and appliqué classes can be found at www.deborahlouie.com.au
Happy quilting
X Deb