Road Test: Aster and Anne Felt Bag Kit
Driven by Michelle Marvig
The art of quilting definitely goes through stages, or fashionable fads, when it comes to colours and styles. However, if you are looking to try some fashionable stitching for a non-quilt project, you might like to try making a handbag. While some of us come from a dressmaking background, and curves, zips etc do not faze us, many quiltmakers have not sewn before they find patchwork. Jennifer Moore at Aster and Anne has created a range of bags for all skill levels. They are pre-cut, ready to sew, with all the hardware that you need to complete the items, except for embellishment.
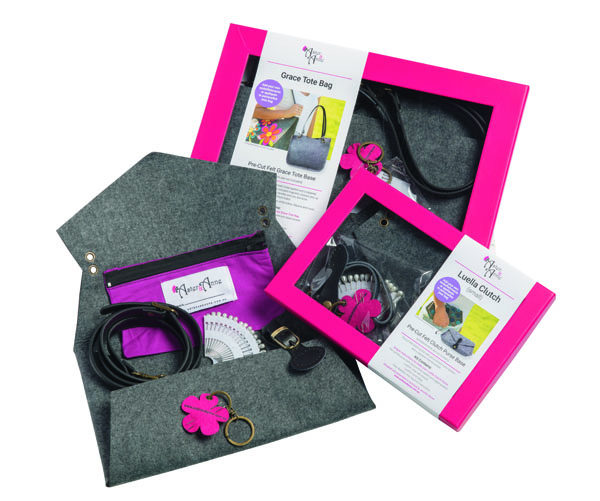
At the time of writing this article, four different bag kits were available. However, more designs are in the pipeline. Each bag kit has a pre-cut set of thick, grey felt shapes required to make one bag, no pattern or tracing required to get started. Also in each kit is the hardware required to make the bag, handles, large pins to cope with the weight of the felt, hand needles, instructions and a key ring.
Learn curved English Paper Piecing!
You can complete each bag in less than two hours if you are just using the felt as it is supplied. The seams are sewn on the outside of the bags, no fiddly turning through of the pieces, and the bags are not lined. The slowest part is the hand stitching through the leather sections on the tabs, handles or magnetic clips if you choose not to machine quilt through the leather. You can find supporting video tutorials on YouTube as well, just search for Aster and Anne.
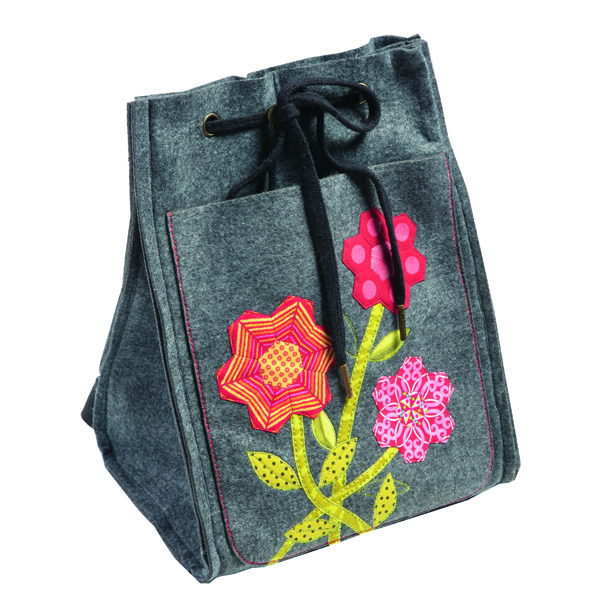
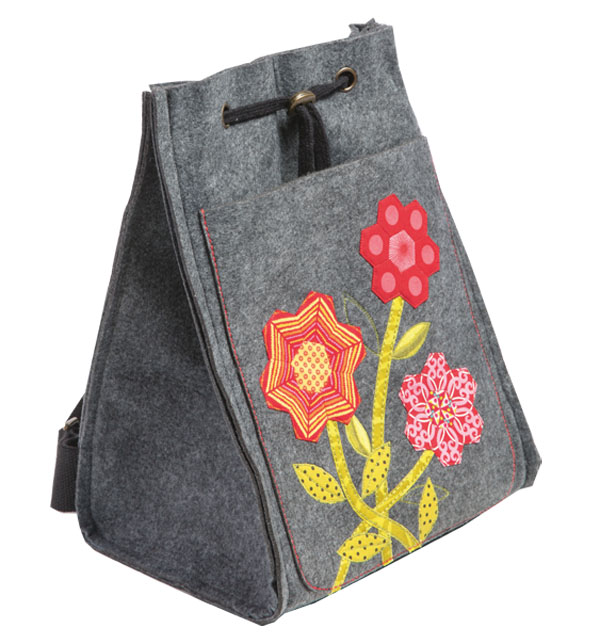
However, apart from the fabulous quick construction of the bags, the idea of these bags is to give you a base for embellishment — hence, the use of the neutral grey felt for the bag. This felt is viscose/acrylic, about 3mm thick and quite firm, but not stiff. I chose to make the Amalia Backpack as I had never made one before.
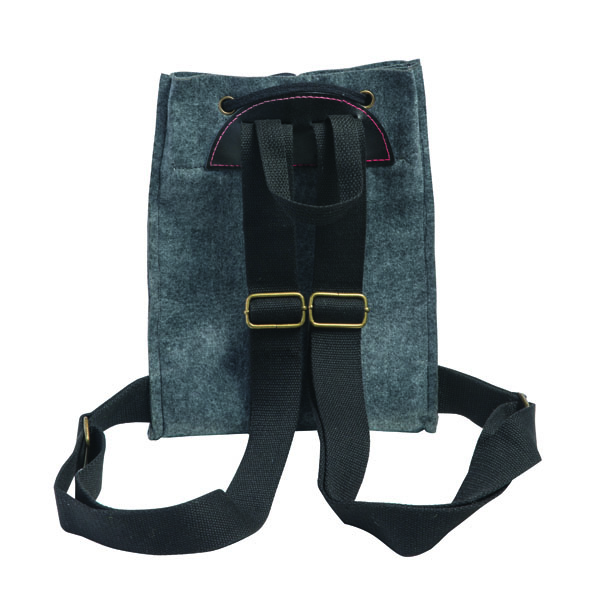
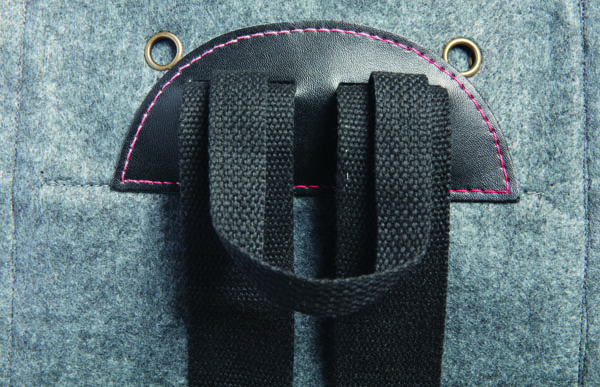
The first thing you notice when you open the beautiful packaging is the comprehensive hardware in the box. The straps are thick, black 90 per cent cotton / 10 per cent polyester, at a very comfortable width of 38mm. These are already attached to a leather semi-circle tab, which is what is used to fasten the shoulder straps to the back of the bag. The strap length is adjustable, and the ends simply pop into the side seam. They have sealed the ends of the straps, so they will not fray. The drawstring ties are made from the same black material, finished with brass-looking 2cm ends, and comes complete with a sliding stopper.
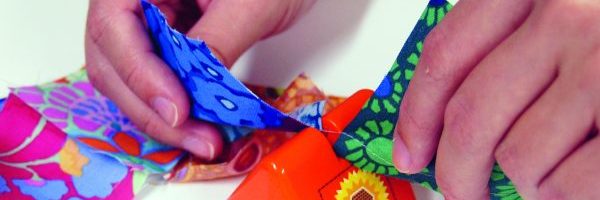
Four pieces of pre-cut felt make up the bag: the main body, two sides and a pocket. I first watched the YouTube tutorial to get an idea of what I needed to do. Then, before I started to play, I followed Jennifer’s advice to spray starch the felt as it is a non-woven material which can pill if there is friction. The spraying helps to keep this to a minimum.
After this, the fun started. You can conceivably cover all of the felt with any type of embellishment that your heart desires. I chose to simply embellish the front pocket. I made the three hexagon flowers, removed the papers, pressed and fused fusible web to the wrong side of the hexagons. I also made stems and leaves from lime green fabrics and fusible web. These were then fused onto the front of the pocket and machine stitched in place. Now it was time to start constructing the bag.
I picked up the main body of the bag to find a contrast pocket already stitched on the inside of the main piece, and eyelet holes were already inserted in the felt. The pocket simply stitched onto the front of the piece. I had in my machine a Universal 80 needle, and did not use my walking foot to construct the bag at any time.
The next step was to sew the leather tab for the back straps onto the top of the bag, at the back. I choose to hand sew, using the needle from the kit, and used a contrasting, variegated perle thread for extra effect.
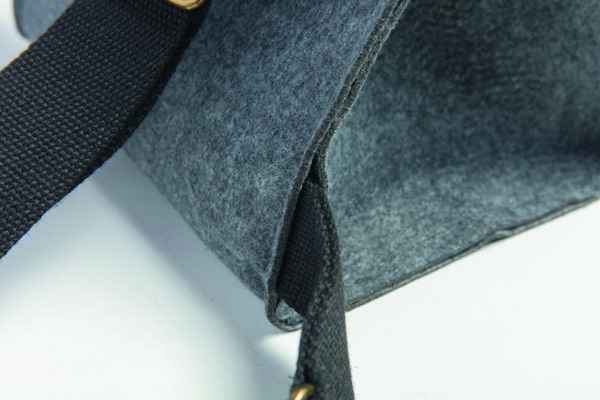
Once this was in place, the sides of the bag were sewn in. And yes, the seams sit on the outside of the bag. I used a matching grey thread for this as I did not want this line of stitching to be a feature. As you complete each side seam, place the ends of the back straps into the seam. Finally, add the drawstring and stopper and the bag is complete.
The Luella Clutch has a single piece of pre-cut, odd-shaped felt to make the clutch and is available in two sizes. The Grace Tote has three simple pieces used to make the bag. However, it is the unlimited embellishment possibilities that are exciting. You can do any form of embellishment to the actual felt, like freeform quilting, stitch and flip piecing across the felt. Use glorious ribbons, add appliqué and thread, paint the surface afterwards, stitch on your antique button collection or even couch threads.
These are just a few ideas for embellishment. You could also add piping to the edge of the pocket, or maybe lace or Prairie Points. I am sure there are many more options and each bag will end up as a very useable piece of art.
The possibilities of these bags, the ease of construction and the fact that everything, except for thread, comes in the kit makes these an exciting find. The finished bags are only limited by your imagination. One thought: the more you cover with embellishment, the less felt is exposed to pill. As the hardware is so professional, the finished bags are very sophisticated.
Aster and Anne are a wholesale company, selling the product through independent quilt shops. They have a range of individual handles, tab closures and magnetic snaps in their range, as well as stencils, or templates for a selection of appliqué shapes for embellishment. You can find more information and a stockist list at www.asterandanne.com.au.