Showing and Telling – How to Start Quilting
There’s no need to feel overwhelmed by all the tools, materials and skills required for patchwork and quilting. It’s more manageable than you think. Just decide what kind of quilter you want to be (or which project you’d like to make), follow our few simple leads and you’re on your way. By Elizabeth Newton
To work out what kind of quilter you want to be, ask yourself, ‘What sort of project do I want to create?’ Although the usual advice is to start with a small, easy project, the more important thing is to choose something you really love, whatever the size or complexity. Enrolling in a beginners’ course or project-specific workshop gets you off to a flying start with mastering the techniques, but there are plenty of other options too. Borrow from the library or buy a comprehensive beginners’ guide to patchwork, appliqué or the technique you’re interested in, check out online tutorials and YouTube videos demonstrating the processes or join a group with similar interests. Don’t be afraid to ask questions: everyone was a beginner once.
Am I very time-poor? If so, you’re actually better to choose mainly hand techniques rather than machined ones, because they are very portable and can be done anywhere in tiny snippets of time with minimal equipment. Machined quilts require dedicated chunks of time for the tasks and more gear and space.
What about skill levels? Both English paper piecing and hand piecing using templates are inherently accurate patchwork methods that don’t rely on a high level of skill or using a sewing machine. Fusible-web hand appliqué is easier than needleturn when you’re starting out. You can often switch between hand and machine methods and still end up with similar results.

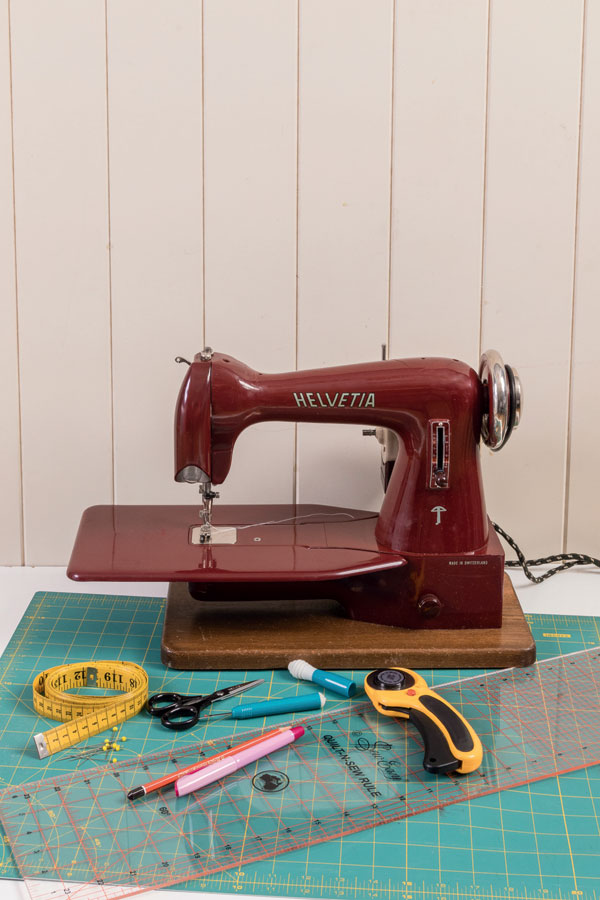
Machine methods: When it comes to rotary cutting patches and strips and joining them by machine, precision is vital at each stage. The benefits over hand methods are much greater speed and improved durability of the finished item.
For the cutting, at a minimum you’ll need a small to medium-sized self-healing cutting mat, a quilter’s ruler (61/2 x 24in) and a 45mm rotary cutter plus a tape measure.
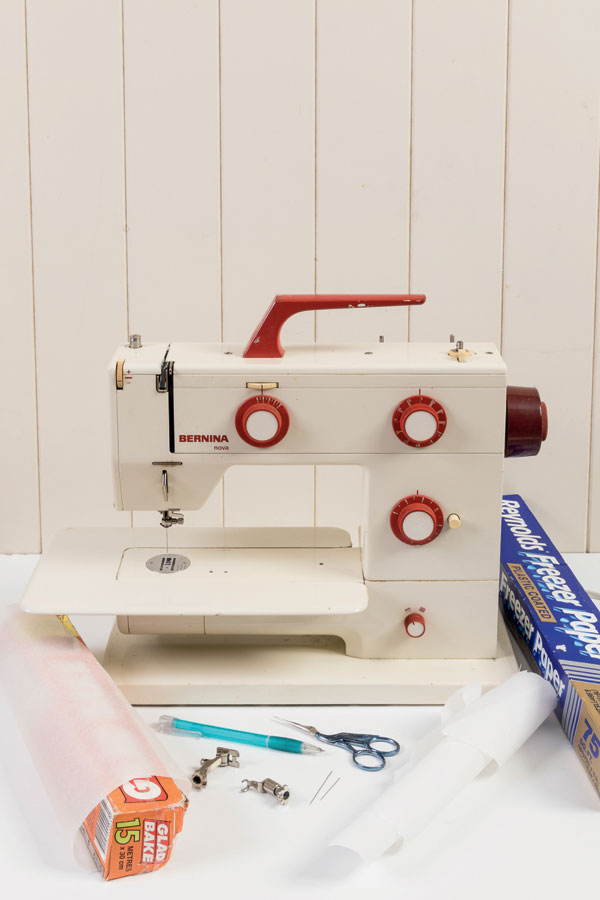
Do you have a sewing machine? Patchwork, quilt assembly and binding needs no more than basic straight sewing and machine appliqué can be done with straight, zigzag or other stitches, so almost any vintage machine in good working order is perfectly adequate. Beg, borrow, inherit, pick up from kerbsides, acquire secondhand – there are countless unused but functional 20th-century machines around, and they’re usually far more robust and reliable than a plastic cheapie from the post office. Save the money for gorgeous fabrics. You can always upgrade your machine later if you get hooked. Many quilters actually prefer sewing on vintage machines over new ones.
You don’t need a dedicated 1/4in foot or seam-width gadget to sew an exact 1/4in seam, so don’t let that deter you either. Carefully measure a scant 1/4in to the right of the needle and apply a line of masking tape or other adhesive strip to the bed of the machine parallel with the feed dogs to serve as a seam-width guide. Sew some practice patches together, check their accuracy and adjust the position of the tape if needed. The cutting and stitching both need to be spot on for a great finish.
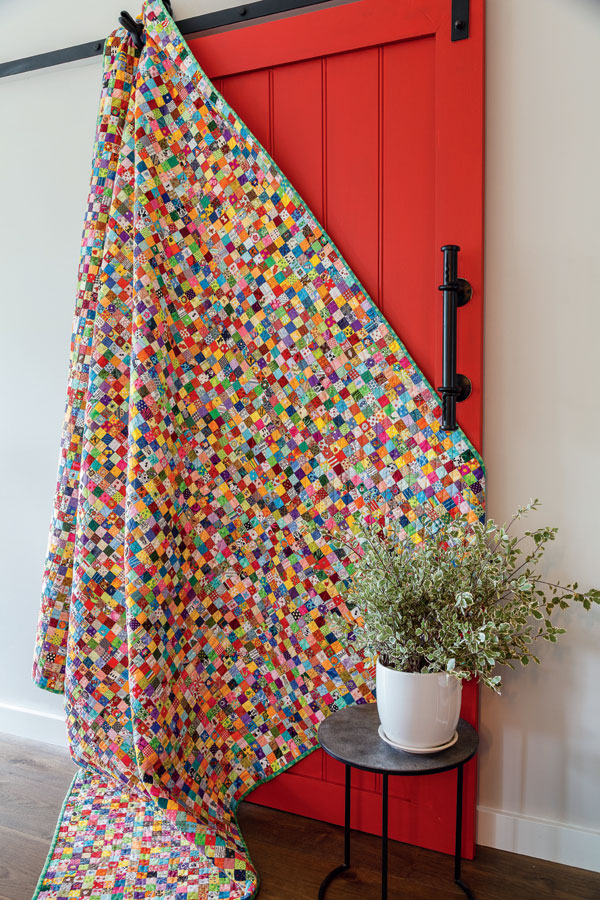
Create a quilt using precut fabrics
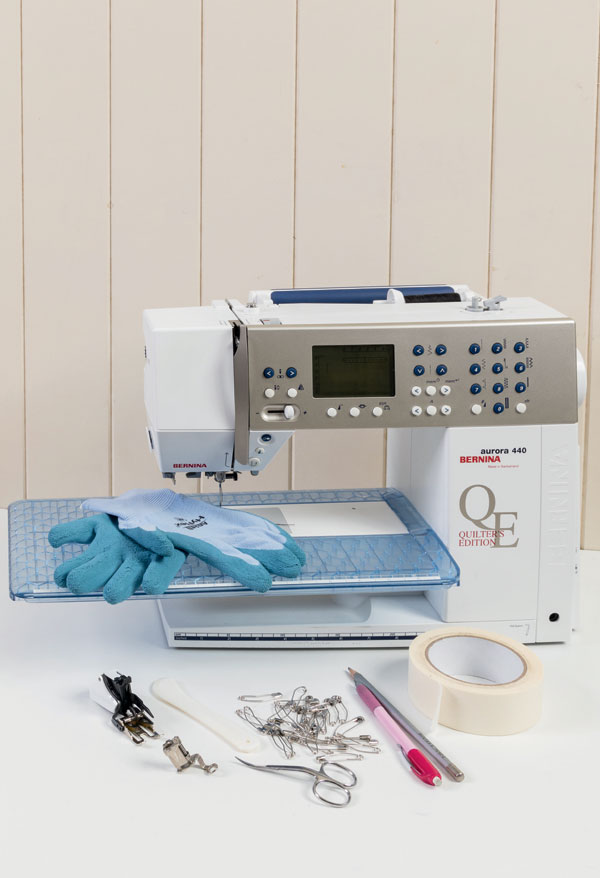
What about the quilting? Once you’ve completed the top layer of your quilt (sometimes called a ‘flimsy’), you can take it with some backing and batting to a professional machine quilter, who will transform it into a warm, textural, strong quilt that just needs the binding attached (some quilters offer binding as an optional service). Alternatively, you can quilt it by hand in a variety of styles, or you can machine quilt it yourself. However, I wouldn’t recommend wrestling quilting a whole queen-sized quilt on a domestic machine as your first project – start with something smaller such as a table runner, mini quilt or quilt-as-you-go project until you get the hang of it.
Fabric acquisition
Some quilters build formidable stashes of fabric and showcase them in artfully arranged shelves or colour-coded boxes – let’s call that System 1. Others buy just exactly what they need for the project they’re doing – System 2. Is one system preferable to the other? Well, it depends on the answer to that first question: what kind of quilter do you want to be? If you like the idea of working with fabrics from a favourite designer’s latest range, creating minimalist modern-style quilts, or you just want to make a cot quilt for a new baby, System 2 is for you.
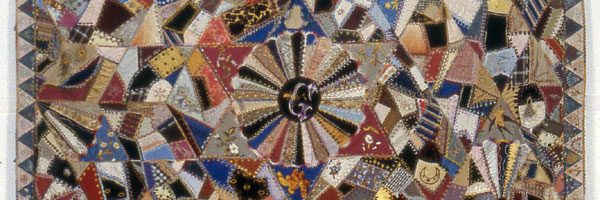
However, if your heart flutters when you see a quilt composed of countless different fabrics – often described as ‘scrappy’ – then having a big stash will be a boon. You’ll need lots and lots of different fabrics, but only small quantities of any of them. In the early days of collecting, concentrate on a specific mix of fabrics: do the quilts you like rely on contrasting values (light-dark) of many colours or heaps of tones of just one colour? In prints or solids?
Many quilters start out as System 2, but over time, they build up a modest stash too, either from fabrics that were surplus to projects or through snapping up prints they love while they’re available. System 11/2 if you like. Other determiners include your available storage space, funds and personality type.
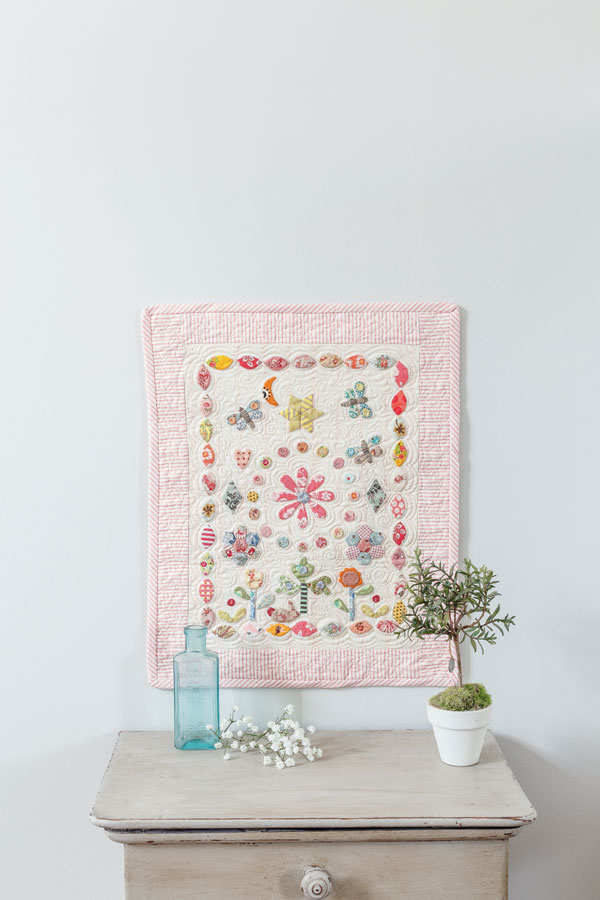
Make your own Happy Scrappy Circles Quilt
So what equipment do I need? Again, the answer depends on what kind of quilter you want to be. We’ve gathered the essentials for each skill set and listed below the photographs a few extra items that it’s nice to have, but not vital.
Just acquire the materials and gear for the project or technique/s you’re doing, rather than equipping an entire sewing studio with every gizmo and gadget that’s ever been invented. The extras can be added later if you fall in love with quilting and decide to pursue it long-term.
Remember: Quilting can be addictive, but it’s also scientifically proven* to be therapeutic and beneficial to your wellbeing. So what sort of quilter do you want to be?
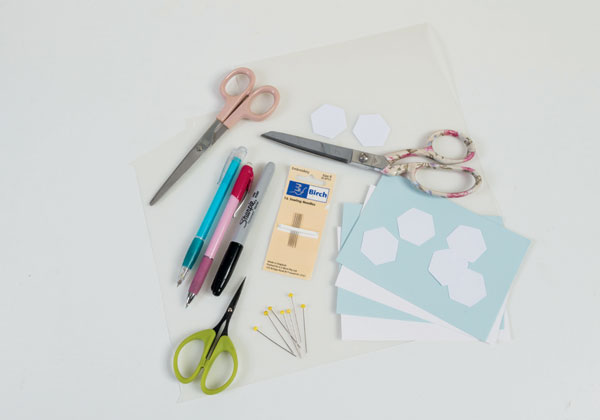
Equipment for hand-pieced patchwork Extras: clips, glue stick, freezer paper, spray starch, 1/4in bias maker, bias bars, sandpaper board, erasable markers