Special Feature: The Needlepoint Beginner with Renee Frank
Renee Frank helps aspiring needlepointers get started on their first project.
Preparing the First Stitch:
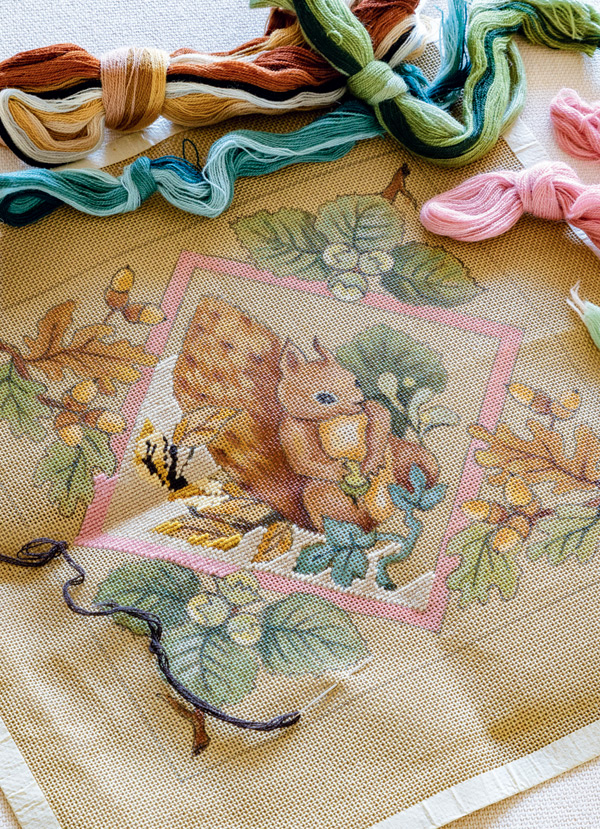
Examine your canvas and select an area with a large expanse of one color to start with. This will help you practise getting into the stitching flow.
TIP: Start with darker colors and finish with the lightest colors. Your hands constantly rub against the threads as you work. You want to avoid getting the lighter colors dirty, so the less time they spend exposed the better. If your hands are very dry, you may snag the thread as you work. Moisturize daily to help keep your hands in shape.
Cut a length of thread, not too short that it would get used up too fast, and not too long, which would make it tiresome to pull all the way through.
Make a knot as close as possible to the end of the thread. This will anchor the thread at the starting point of your stitch run. (If the canvas weave is coarse, say 10 count, you might need two knots.) Or instead of a knot, work the first few stitches over the thread at the back of the work for a neat, flat finish. Wet one end and thread it through the eye of the needle. Move the needle down about halfway, and get ready for your first stitch.
Stitching
An easy stitch to begin with is called tent stitch (also known as continental stitch or just regular needlepoint stitch).
There are a ton of different stitches to learn, and you will be picking those up as you go. A canvas will exhibit spice and life when it is composed of a variety of different stitches. Still, the tent stitch is the mainstay of most needlepoint works.
Picture a 2×2 grid with four squares. The right upper is northeast, left upper northwest, lower right is southeast, and lower left is southwest. It is easier to follow complicated stitches when thinking along these lines.
Start at one edge of the area you selected. In this example, you start from the left edge, making your way to the right, and then moving down and making your way back to the left.
Begin one hole from the edge. This is the northeast hole in the 2×2 grid. Insert the needle from the back of the canvas, and pull until the knot at the end holds it in place.
You’ll be pulling the doubled-up thread through the holes, and the unknotted end of the thread will slip out as you go along, leaving behind a single-thread stitch. Occasionally, the thread gets trapped and you’ll need to undo stitches until you can free it. Sometimes a firm yank will dislodge it, and it will snake its way out of the holes it was sharing with the other thread.
After pulling the thread up from beneath the canvas through the hole, push the needle back down into the hole directly southwest, diagonally across from the first hole.
Travel under the canvas and push the needle up into the hole directly east of the first hole. Push the needle back down into the hole southwest of that one.
Repeat until you work your way rightwards to the other edge of that color. Up east, down southwest, up east, down southwest, and so on.
Now you have completed one row of pretty neat stitching and you are ready to start on the second row of stitching. This row will start from the right edge of the area, and work its way back to the left edge. Begin by pushing the needle up from beneath the canvas into the hole directly south of the last hole you descended into.
Now keep in mind that for this row, the steps are reversed. You push the needle down in the hole northeast. Continue with the hole west of the first hole and back down northeast.
Don’t skip a line! When you are done, every hole should be occupied by two threads: one from the upper row, and one from the lower row.
And we are back at the edge from where we started! You now repeat until you have completely filled the area with neat stitching.
TIP: Don’t let anyone else stitch on your canvas. Each person pulls the thread differently – at different angles, tightness, and speed. The same exact stitch looks different if stitched by two separate individuals. You may end up ripping out the area stitched by others.
If you make a mistake, you can correct by reversing your steps. Push the needle right back through the hole it just came from. Continue tracing your stitches backwards until you undo the series of errors. And get used to it – you’ll be doing this a lot! You may be able to reuse the thread. It all depends on how finicky you are and the shape the thread is in.
Finishing the Thread
When you near the end of the thread, or it’s time to change colors on the canvas, pull the remaining thread through the back of a few finished stitches that are close by. Cut off the remaining hanging thread.
Happy stitching!
Thanks to Renee Frank, of Pepita Needlepoint, for these instructions.
For more from Renee check out her blog: needlepointofview.com