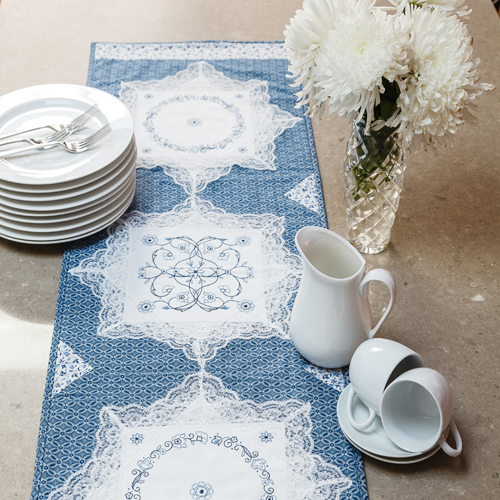
How To: Make This Table Runner Pattern With Six Hankies
Natasha Curtin picked up a selection of starched, lace-trimmed handkerchiefs from her local markets. She didn’t have a clue what she would do with them. Nonetheless, creative ideas started to form, and Natasha designed this table runner pattern.
Table Runner Pattern
What You Need
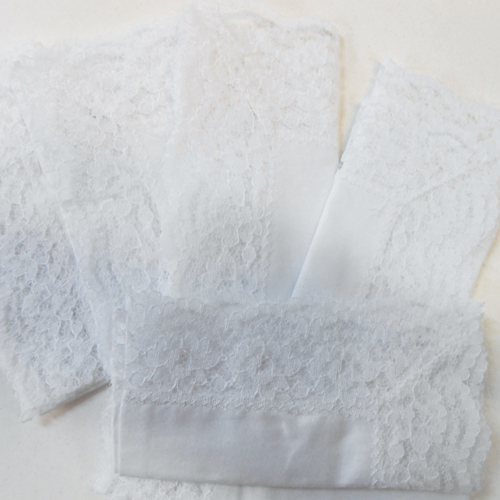
- 6 lace hankies
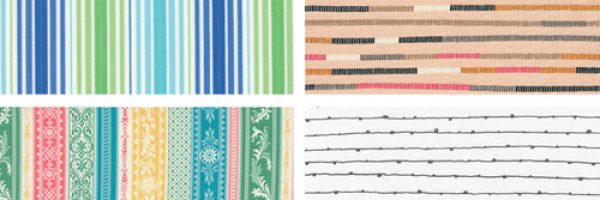
- 1.5 metres of main fabric (includes backing and binding strips of 2.5 inches)
- Fat quarter of similar colour light toned light fabric.
- 3 skeins of DMC thread; dark, medium and light. I chose Blue, and used 311, 322, and 813.
- Fusible webbing x 3 hanky pieces.
- Wadding – width to match your hanky size corner to corner plus 1 inch wider, and 1 inch longer.
- General sewing supplies.
Download the Table Runner Pattern Embroidery Design
Embroidery
- Wash and iron hankies. Trace designs on three hankies with pencil or fabric marker of your choice. (Enlarge design to fit your size hankies if needed. Be careful when tracing- the lightweight cotton does make the fabric markers bleed quite profusely).
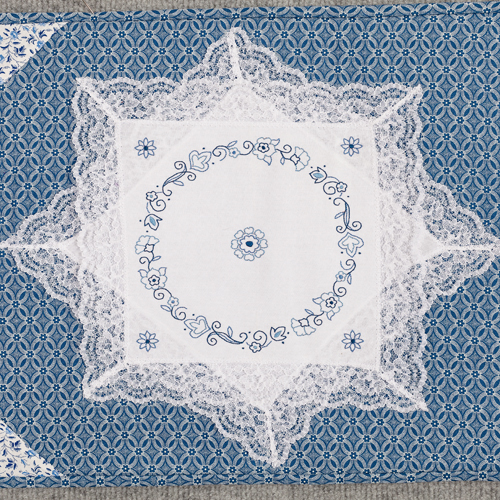
- Back the three hankies with fusible webbing on the cotton fabric ONLY. Remove webbing and iron hankies at 45 degree angle to form a star shape. IMPORTANT: place baking paper UNDER the hankies so that the fusible webbing does not glue through the lace onto your ironing board.
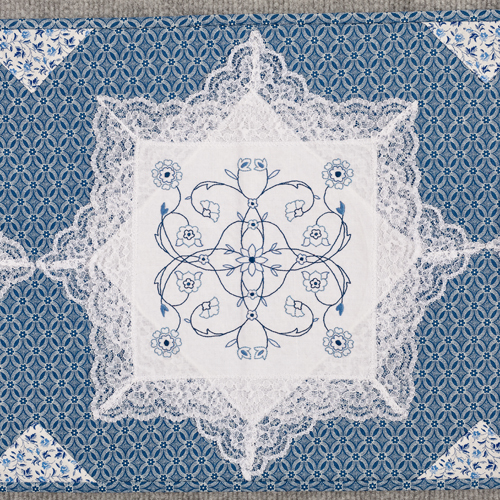
- Using a hoop, back stitch the designs with two strands of thread. Satin stitch areas where shown on the diagram with a solid fill. French knot the dark dots.
We think the Azulejos Almofada Cross-Stitch Cushion would look great paired with this table runner pattern
Main Panel
- Measure the hankies from top point to bottom, add 3/4 inch and use this measurement to cut across the width of the main fabric.
- Iron the hanky ‘stars’, arrange and pin the stars on the fabric, middle star centered, with lace points touching. (Yeah, well, some of those hankies were NOT square!) For something slightly different, orientate the middle panel 45 degrees from the one shown in the sample.
- Sew a seam around the top hanky cotton edges to secure to fabric with matching thread.
- Trim the ends of the main fabric 3/8ths of an inch past the hanky lace on both sides.
- Cut two 3.5 by 3.5 inch squares from the remaining fat quarter. Cut in half diagonally.
- Fold over a quarter edge on the two short sides of the triangles, press firmly. Place the hypotenuse of the triangles on the raw edge of the main panel, centered between the hanky stars. Pin and sew in place with topstitch close to the edge.
- Using same fabric, cut 2 panels 2.5 inch wide by height of main panel. Join to the main panel using quarter inch seam. Press and add topstitch line close to the edge to match the triangles.
- Cut wadding and backing 1 inch larger than the finished top panel.Sandwich the top panel with wadding and bottom fabric.
- Quilt as desired. We machine quilted around the underlying hanky area. You can secure the points of the lace afterwards with a few hand stitches.
- Trim the backing and wadding to the same size as the top panel.
- Mitre bind the table runner with 2.5 inches of the main fabric.
Try the A Summer’s Day Hexie Embroidered Tablerunner next!