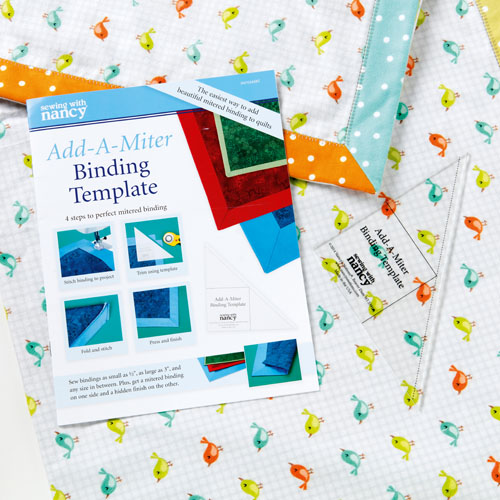
Road Test: The Add-A-Miter Binding Template
Have you considered using the Add-A-Miter binding template, but been unsure if the product would be right for you and your projects? You can now make an informed decision, as the talented Michelle Marvig has road tested it for you!

There are several steps in making any quilt before applying an Add-A-Miter template. First, you must construct the quilt top. The top needs to be layered with backing and batting, then quilted. To complete, you need to finish the edge of the quilt, with double fold binding being the most common technique. However, I do find that corners can present issues when binding. The Add-A-Miter binding template by Sewing with Nancy is designed to make this job a little easier.
Learn how to do Needleturn Applique without the Needleturn!
I would first like to point out that this tool does not result in a binding that is visible on both sides of the quilt. It is visible on one side of the project only. You choose the finished size of the binding that you wish to see, multiply by two and add 1/2in for seam allowance.
For a 1/2in finished binding cut a 1/2 in strip; for 2in finished binding cut a 4/2in strip. Binding strips will need to be joined to make the required lengths for larger projects. 45-degree seams will also help to distribute the bulk. We pressed the binding in half, wrong sides together. After that, we cut four lengths of binding to the raw edge measurement of the project.
You must decide which side of the quilt the binding will be visible. The side that you sew the binding to at this stage will not see any of the finished binding. So if you wish to see the binding on the front of the quilt, sew the prepared binding length to the back of the quilt.
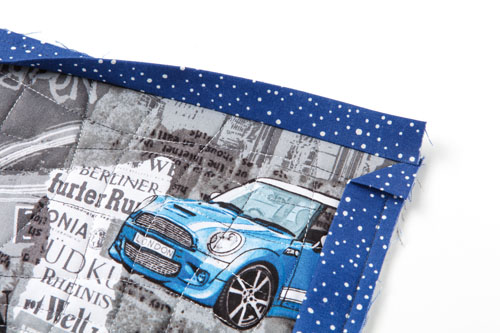
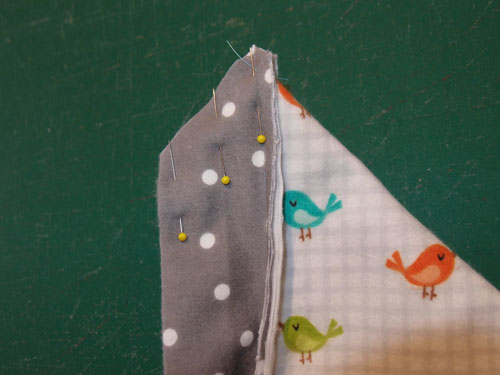
The batting and backing fabric all need to be trimmed, equal to the edge of the border. We placed the raw edge of the binding level with the raw edge of the quilt back. Then, we stitched the binding in place with a 1/4in seam, starting and finishing 1/4in from the ends. When stitched, we finger pressed the binding out of the way so that we can sew the next binding strip in the same manner.
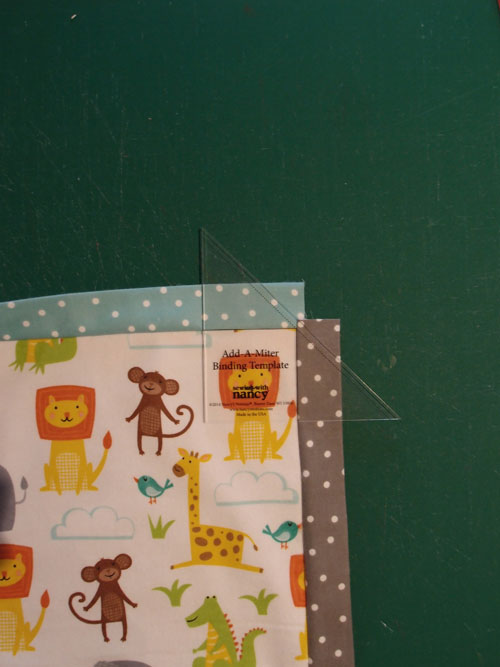
We completed all four sides in the same manner. To miter a corner, we placed the project on a cutting mat, with the two adjacent bindings finger pressed away from the project. We then placed the solid lines of the template on the recent seam lines. This paces the angled edge of the template on the main body of the bindings.
Try the Add-A-Miter Binding Template with one of our projects, browse quilt patterns here!
We made a cut along the angled edge. To complete the mitered corner, we placed the two cut ends of the binding together and completed a 1/4in seam, starting at the same point where the previous seams finished, extending right out to the pressed edge. The seam is pressed open.
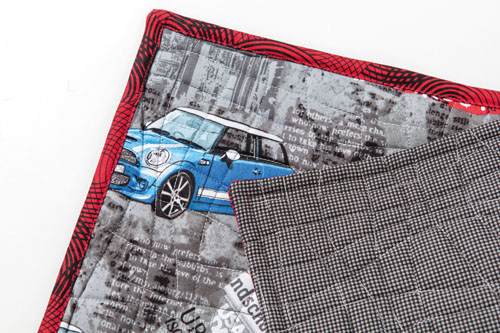
Once we stitched all corners, we flipped the binding to the front of the project and pressed it in place, encasing the raw edge of the quilt. We can then either hand or machine stitch the pressed edge in place.
This tool had a very comprehensive instruction manual and was very easy to use. It is also perfect for art quilts where you don’t want to have a visible binding, or home decorator items that do not need a binding visible on both sides. I loved making the baby wrap with the four contrasting bindings.
The simple wrap is more fun because of the detail on the edge. I used a decorative stitch as my final stitch, which embellished the second side of the wrap as well. You can also use it on scarves, table runners, even fancy pockets on the outside of a bag. The completed binding sits very flat.
Using a machine finish is also a very fast option for completing a quilt. However, remember that it is visible on one side only.
This may, or may not, be the tool for you. It will depend on the look you want for your project.