Block Masterclass Series: Log Cabin
Log Cabin
The Log Cabin quilt block is arguably the most well-known and best loved of all quilt designs. With its straight seams, it is simple enough for a beginner to sew, and oh-so-exciting for the beginner as well as the more experienced quilter to ‘play’ with the designs
1.LOG CABIN HISTORY
- Log Cabin quilts first made a widespread appearance in the United States in the 1860s.
- They were extremely popular and identified with the pioneer spirit and values of America.
- Early Log Cabin blocks were hand-pieced using strips of fabrics around a central square.
- In those traditional Log Cabin blocks, one half was made of dark fabrics and the other half of light fabrics.
- A red centre symbolised the hearth of the home and a yellow centre represented a welcoming light in the window.
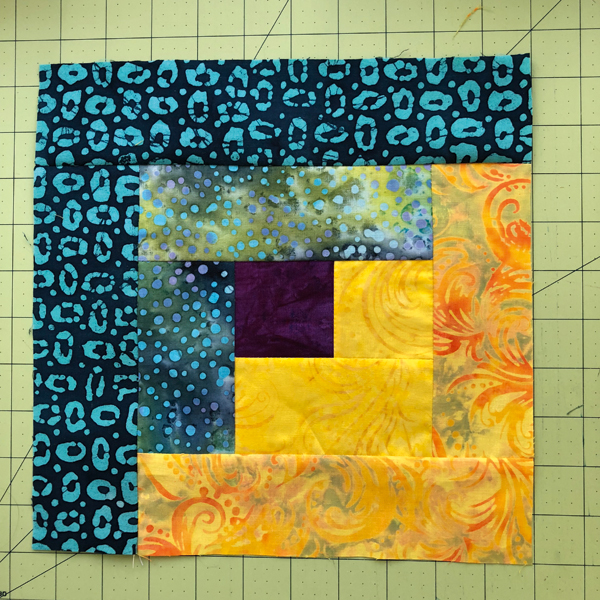
2.HOW TO SEW A LOG CABIN BLOCK
This block measures 10½in unfinished (10in finished)
CUTTING
From the purple fabric, cut a 2½in square
From the lighter yellow fabric, cut:
* 2½in square
* 2½in x 4½in strip
From the darker yellow fabric, cut
* 2½in x 6½in strip
* 2½in x 8½in strip
From the lighter blue fabric, cut:
* 2½in x 4½in strip
* 2½in x 6½in strip
From the darker blue strip, cut
* 2½in x 8½in strip
* 2½in x 10½in strip
All seams require a ¼in seam allowance.
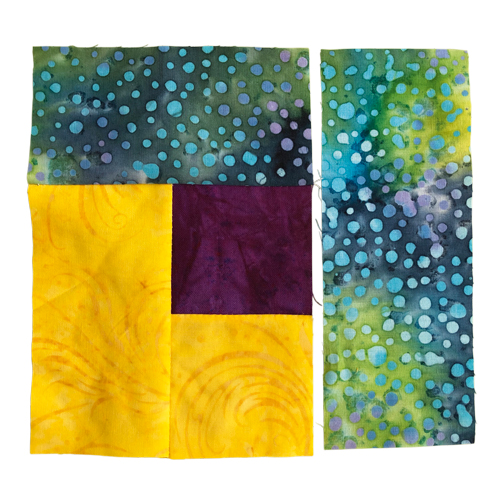
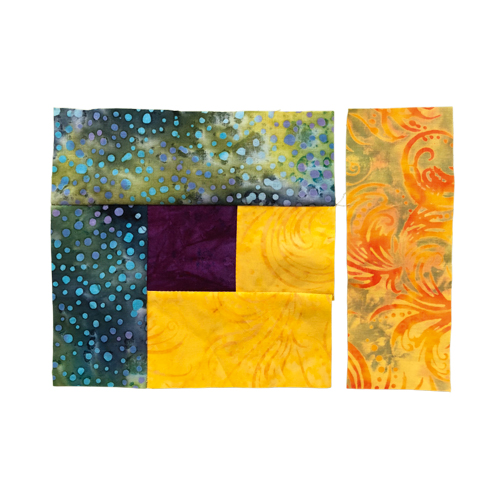
1. Sew the two 2½in squares together, with right sides together. Press the seam to one side.
2. Place lighter yellow 4½in strip to the left of the previously sewn unit. Sew the seam and press the seams toward the strip just added.

3. Place the lighter blue 4½in strip to the top of the unit you’ve just sewn. Stitch these sections right sides together. Press the seam towards the last strip added.

4. Place a lighter blue 6½in strip at the top of the unit. Place the right sides together and sew the seam. Press the seam towards the last strip added.
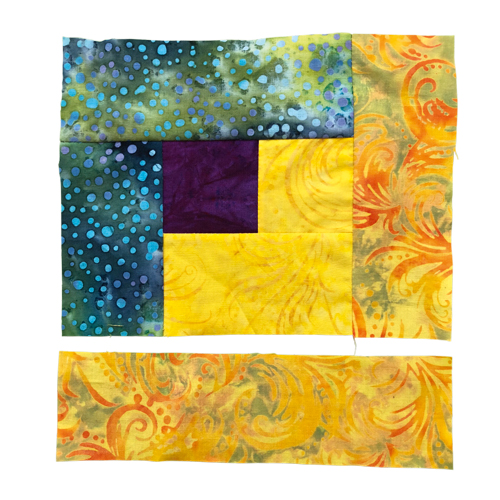
5. Place a darker yellow 6½in strip to the bottom of the unit. Place the right sides together and sew the seam. Press the seam towards the last strip added.
6. Place a darker yellow 8½in strip at the left of the unit. Place the right sides together and sew the seam. Press the seam towards the last strip added.
7. Place a darker blue 8½in strip to the top of the unit, and sew it to the block right sides together. Press the seam toward the strip just added.
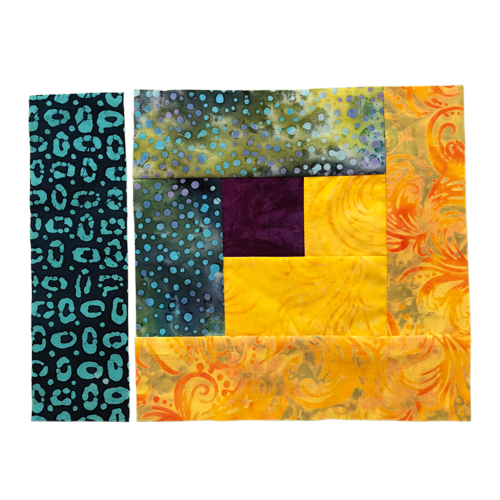
8. Place a darker blue 10½in strip at the top of the unit. Place the right sides together and sew the seam. Press the seam towards the last strip added.
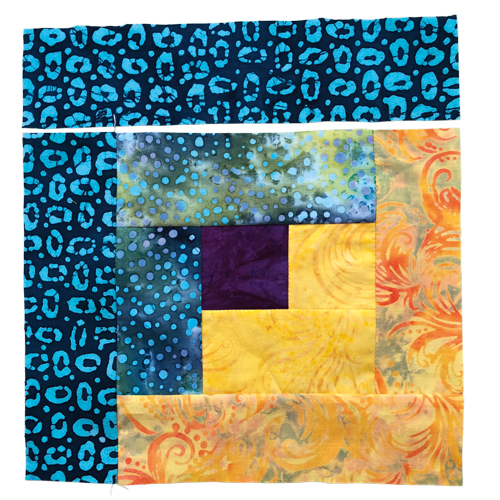
This block is now 101/2in x 101/2in square. If you add another round of logs you will have a 121/2in x 121/2in square.
3.WHY WE LOVE IT
The Log Cabin block is easy to construct and it has a wide range of pattern layouts. By altering the way individual blocks are pieced and arranged into an overall pattern, an astonishing variety of designs can be created. The block’s setting, colour placement, and scale all affect the overall result.
Of all the pattern options the most common and versatile is the Light-and-Dark, or spiral, construction. Not as common, yet easier is the Courthouse Steps variation. Other variations include White House Steps, Court House Steps, eight-sided Pineapple, Barn Raising and Sunshine and Shadows.
4.VARIATION – Whirly Geese Log Cabin
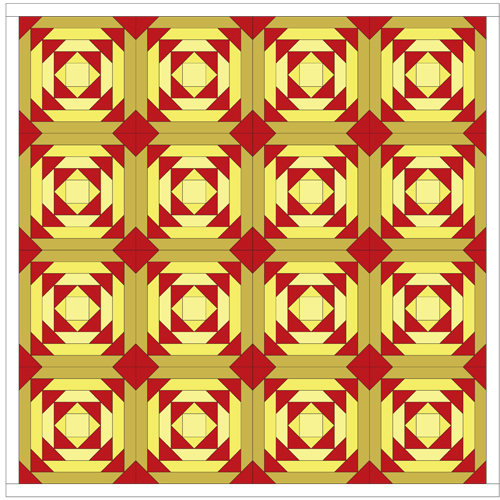
In this block the ‘Flying Geese’ are radiating outwards.
- Starting with a centre square, a triangle is added to each side.
- All the other triangles in the block are the same size. Sew one to each edge of the central unit.
- The following three rounds of ‘logs’ are all the same width — and are trimmed at 45-degree angles at each end.
- After four trimmed logs are sewn to the sides, stitch a triangle across the corner.
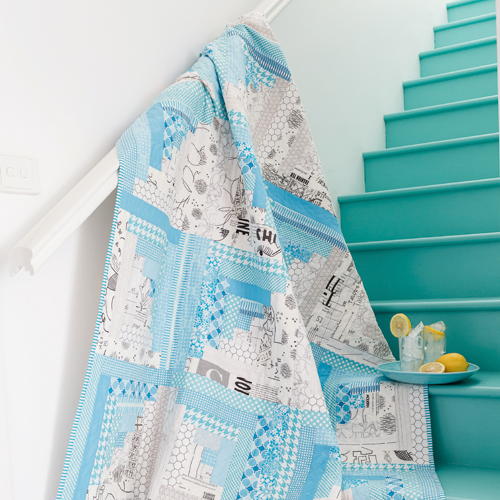
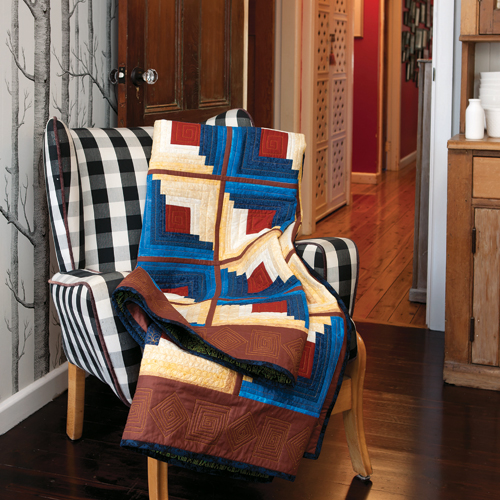
5.GALLERY