How To: Sew Your Own Embroidery Mounting
Framing round stitcheries can be tricky and expensive. Why not create your own embroidery mounting using pretty fabric and size it to go into a purchased frame? Jennifer Reynolds shows you how in this blog post with her 8 step embroidery mounting photo tutorial!
Circular Embroidery Mounting
Step 1

If you’re framing an existing stitchery, select a fabric that contains some of its colours. Otherwise, choose the fabric first and use its colours as a guide to the threads to use in the stitchery. You need two pieces of fabric at least 5cm (2in) larger than the inside frame size.
Step 2
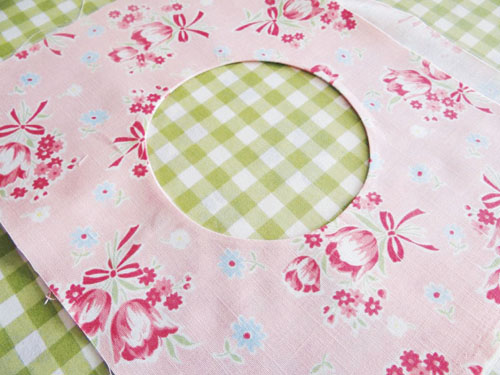
Match the two pieces of fabric, right sides together. Determine the diameter of the circle to suit the embroidery and use a glass, plate, circle guide or compass to draw a circle in the middle of the top layer with a pencil or erasable pen. Sew around the marked line and cut out the inner circle 1/4in from the stitching.
Step 3
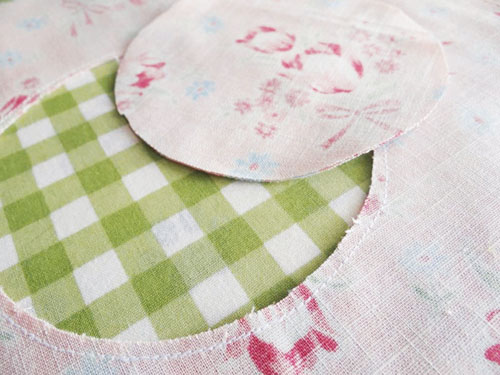
Use small sharp scissors to clip the seam allowance in several places without cutting the stitching so the seam will lie flat. Turn the fabric right side out through the circle, finger press the seam so it’s a smooth curve and press it flat with an iron.
Our Flower Bouquet Embroidered Brooch is a lovely embroidery project!
Step 4
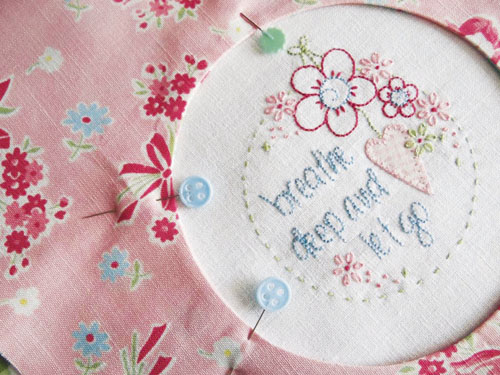
Place the stitchery behind the circular opening and pin it in position. Check that you’re happy with the positioning before continuing. It could be that the stitchery needs to be placed slightly off centre to look balanced inside the window.
Step 5
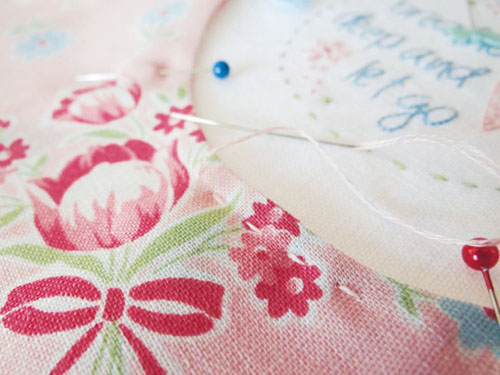
Use two strands of coordinating embroidery cotton to work a line of running stitch around the window opening through all layers. Jennifer used the same pink thread that she used in her stitchery.
Step 6
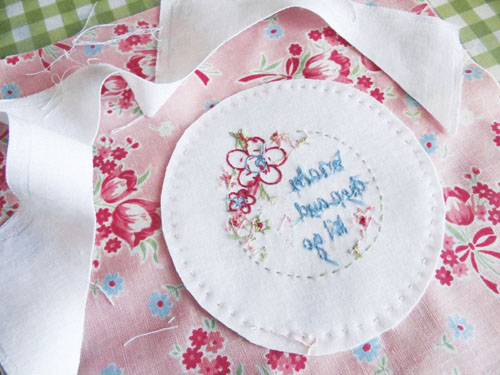
Turn the window over and trim away the excess stitchery fabric 1/4in outside the line of running stitch. If you want to add any extra embellishments, now is a good time. Jennifer sewed six pearl buttons on her mount.
Looking for more embroidery projects? Check out our Ornate Dishy Bird Embroidery!
Step 7
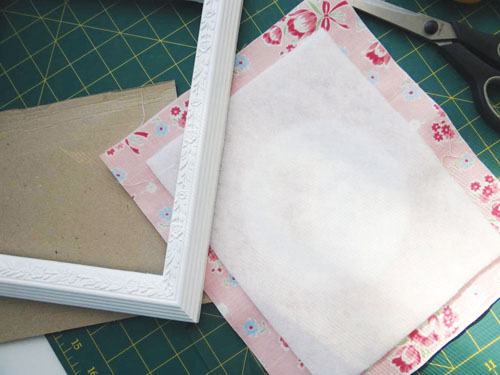
Remove the glass from the frame and use it (or the backing board if there’s no glass) to trace around a piece of thin fusible batting such as Pellon. Cut it out, position it centrally behind the stitchery and fuse it in place.
Step 8
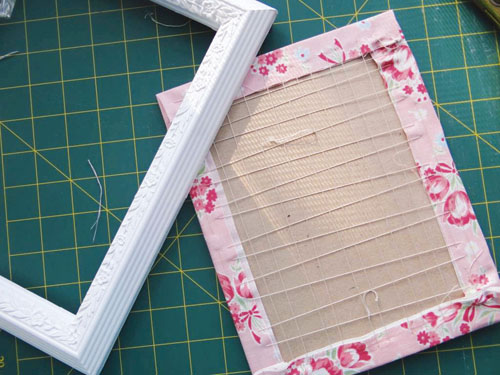
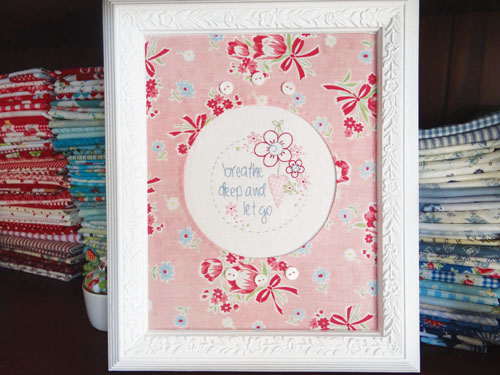
Cut a piece of cardboard the same size as the glass and wrap the fabric around it. Using strong thread, lace back and forth from opposite edges to secure the fabric smoothly around it. Place your stitchery inside the frame, replace the backing board and secure it in place. You now have a sweet stitchery framed inside a window.
Find out more about Jennifer Reynolds
Website: www.elefantz.com
Email: jennyofelefantz@bigpond.com


Great Tutorial! Thanks Jenny 🙂