Build a Quilt Design Wall for your Workspace
If you can’t stand back and see your planned configuration of quilt blocks, how can you judge the balance and symmetry? Build yourself a quilt design wall, and the problem vanishes. But how do you go about it? Samantha Dorn shows you, step by easy step.
A design wall is a fabulous tool for quilters, as it lets you step back from your work and view your quilt on a single plane. You can audition fabrics or block placement and you can get a sense of how your quilt top is taking shape as you position each block in its place. A design wall is also ideal if you want to leave your blocks out on show while you are contemplating a particular design aspect; they won’t be in anyone’s way, and you can come back to them when you are ready. I find that if I can see a project, I’m more likely to feel inspired to work on it, and so a design wall is also a great motivational tool. And if you have ever experienced the aches and pains associated with crawling on the floor while basting a quilt, then you might be excited to know that you can do that on a design wall, too!
In my first studio at the front of our house, I made myself three little design boards that I hung on the small piece of wall available to me. When deciding on the best way to construct these boards, my main concern was that I didn’t want to hang anything in a way that would ultimately damage my walls, so each board needed to be lightweight, easy to install and yet sturdy enough to handle regular use. My husband suggested I use polystyrene boards and pointed me in the direction of Clark Rubber. I couldn’t locate the product on their website, but I gave my local franchise a call, and they did, in fact, have this type of board in a number of different sizes and thicknesses.
The maximum width of the polystyrene boards that was available to me was 600mm, and so I opted for (3) 600 x 1200mm boards – giving me a design area of 1800 x 1200mm. Not very big, but just perfect for my little space. I chose 1in-thick boards, because I wanted to be able to stick pins into the boards, and I felt that thickness gave me the stability I was seeking.
Create a Desert Trekking Quilt
I’d love to say I outgrew my little studio, but the truth is I had to relocate because of my dog, Oliver! I have mentioned before that he suffers from serious anxiety, and because of that he is never far away from my side. Because the windows in this space had a clear view of the street, every time a stranger walked by, Oliver would put on his best ‘tough boy’ act, bark and get quite stressed. Since I spent so much time in the studio and he spent so much time next to me, I was getting quite stressed too – and so I relocated to the back of the house.
I was able to remove these three boards without any damage to my walls, as I had hoped, but since I had moved into a much bigger space, my three little design boards had a chance for an upgrade.
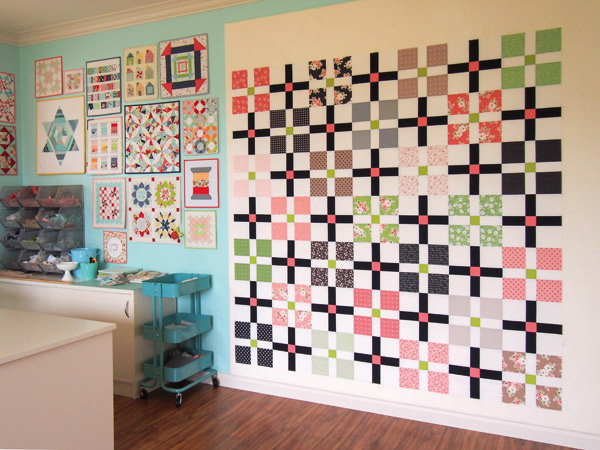
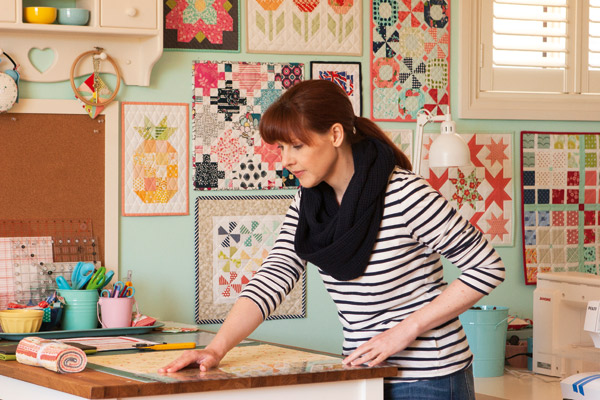
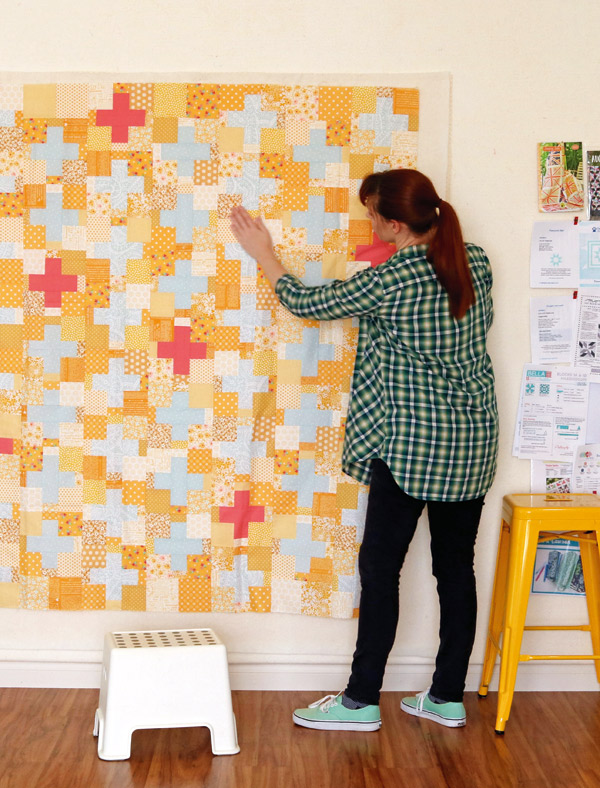
I’m sharing that little piece of my past so you can see that this technique can be used for both small and large spaces, and you can wrap your boards individually, like in the image above, or create one large design wall like I will show you here. And if you have a sweet, yet slightly crazy dog in your life, then now you know you’re not alone!
I had a quick look around the web to see if there were many tutorials out there for building your own design wall, and while there are a few, I think this method is possibly the simplest. Many of the other tutorials seem to suggest you can make your own on the ‘cheap’, but I’m suggesting that this method does require some financial investment depending on the size of design wall you want to create. If you have the room for a design wall and you want to invest in something that makes life a little easier, then making your own to fit your space is definitely the way to go. It’s a simple project that you can easily construct in an afternoon, but if you’re making a large design wall like mine, then an extra set of hands is going to come in handy every now and then.
What you need:
- Polystyrene boards
- Silver electrical/duct tape
- Clear packing tape
- Cotton batting
- Basting spray
- Scissors to cut the tape; scissors to cut the batting
- 3M Adhesive Hanging Strips
Optional supplies:
- Clean broom
- Brayer roller or small rolling-pin
Note: I have broken the construction process down into five steps, but each step has a number of smaller steps, and not all of the steps have images – so read all the instructions thoroughly before proceeding.
Step 1
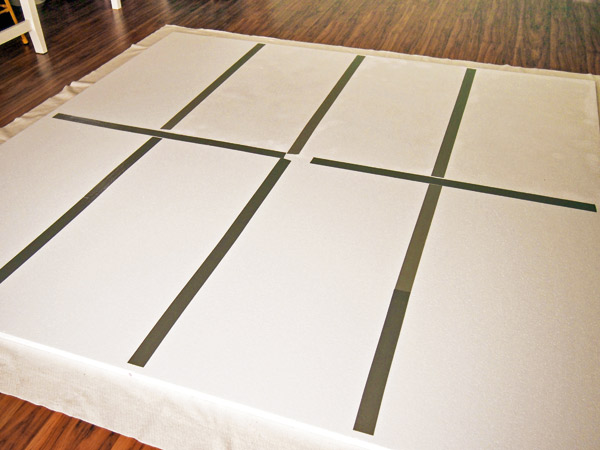
Unless you have been able to obtain a single sheet of polystyrene (different stockists have different sizes available, and some will cut to size for you for a fee), you’ll need to join the pieces of polystyrene together using the electrical duct tape across all the seams.
In the picture below I’m joining together (8) 600 x 1200mm boards. I recycled the ones from my old space and purchased some new boards to create a design wall that finishes at 2400mm square. (Yes, it’s BIG, but lucky for me, I have the space and I love that I can have multiple projects on the design wall at the one time – even if I do need a step to reach the top!)
Once you’ve taped the back together you need to CAREFULLY flip your board to the front and repeat the process using the clear packing tape. If you’re making a design wall as big as this one, then this is where you will need to ask someone for help – flipping those boards at this stage is like a delicate juggling act.
FYI – The reason you’re switching to the clear tape is to ensure that the tape can’t be seen through the batting once your design wall is completed.
Again, carefully lift your design wall, which should feel much sturdier now that both sides have been taped together, and temporarily set it aside.
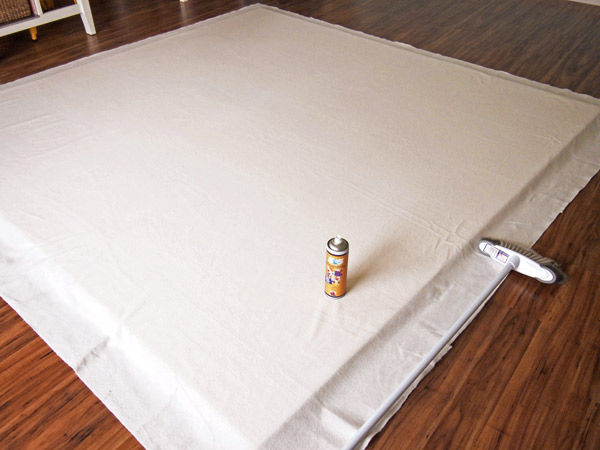
Lay a piece of cotton batting larger than your foam boards on the floor.
Lay the foam boards on the centre of the batting and cut the batting so that it is approximately 4-6in larger than the board on each side – it needs to be able to wrap around the thickness of the board and be secured to the back side.
Step 2
Once again, flip your design board so that the top is now facing up and place the batting on top.
Fold half of the backing onto itself, right sides together. Check that there are no stray pieces of dirt or dark thread on the backside of the batting.
Evenly spray the basting adhesive onto the back of the cotton batting.
If your design wall is small, then you should be able to slowly unfold the batting, adhering it to one half of the wall by slowly laying the batting on top of the board, smoothing it out from the centre until you reach the end. The principle is the same for a large design wall, except that this step is best undertaken with multiple hands. I had one person on either side of the wall slowly and evenly laying the batting on top, with a third person using the clean broom to reach the centre and act as another pair of hands smoothing out the batting.
Repeat this procedure with the second half.
Smooth out any wrinkles as best you can with your hands and the broom, if necessary.
Learn to quilt: Discover our quilting classes
Step 3
Yep it’s time once again to flip your design wall. But don’t worry; by now, you should be an expert flipper, and it’s the last time, I promise!
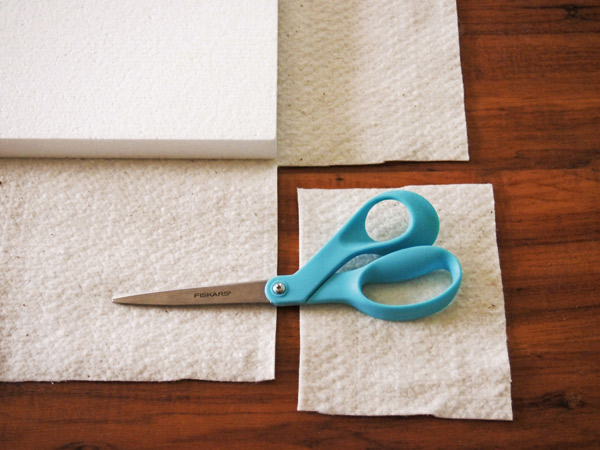
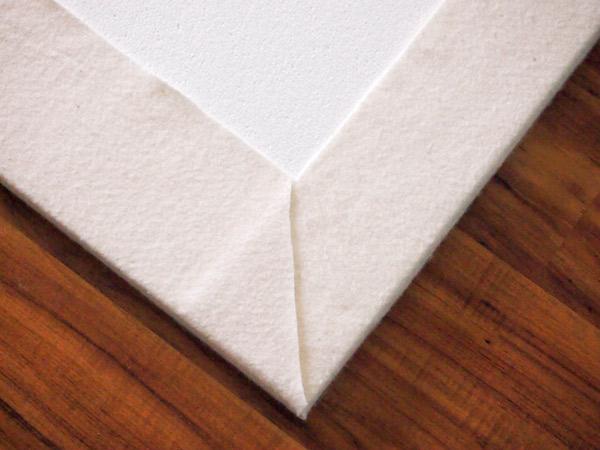
Once your design board is face down, you can prepare the corners by cutting away some of the excess batting and creating a nicely mitred corner. Repeat for each corner.
Your batting is still likely tacky from when you sprayed it with basting spray, but if not, give the edges another light spray and then pull the edges taut and wrap them onto the back of the board.
Step 4
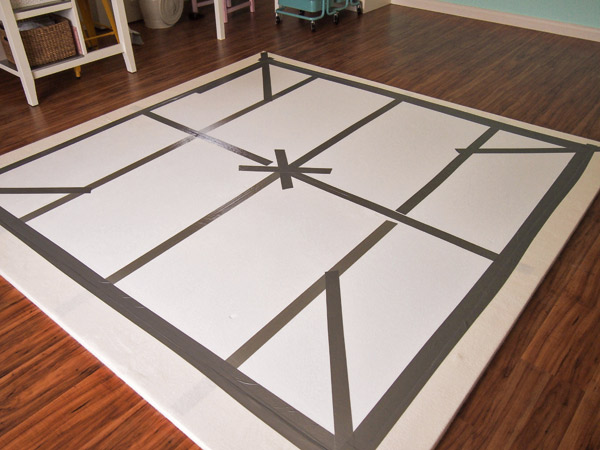
Using the electrical duct tape once again, secure the edges of the batting to the back of the board by running the tape along the edge.
I also used the tape to form some diagonal cross bars for extra stability. Unfortunately, due to the overall size of my design wall, I wasn’t able to tape from one corner diagonally to the opposite corner without standing on the back of the boards, and I wasn’t willing to risk crushing the boards with my weight – but if you have a toddler in your life, then you could hold the tape on one corner and send them across ‘slowly and gently’ to the other side .
Because of the thickness of the batting, I used a Brayer to run around the outside edge of the tape to really make sure that every inch was stuck down, but a rolling-pin or even your own hands should be able to do the job.

Step 5
The final step is the only really tricky part to this whole process. Using an appropriate number of 3M Adhesive Hanging Strips (in my case, I used 7 across the top, 6 across the bottom and 4 across the centre – I’m sure that number was overkill, but I knew that some wouldn’t necessarily align with its partner and some most likely wouldn’t work all that well because, unlike a normal hard surface that you can push to secure the Velcro teeth, you can only gently push the polystyrene because it’s easily indented) adhere one side of the hanging strips to the back of the design wall, securing them on the electrical tape surface for the best adhesion.
Determine the exact position of all your adhesive strips and mark the corresponding measurements on your actual wall where the design wall will hang. Follow the manufacturer’s instructions and adhere the adhesive strips partners on to the wall. Wait the required amount of time to ensure the adhesive strips are active and secured to your wall and then lift up your design wall and, doing your best to align the hanging strips, mount the design board onto the wall.
Create our By the Sea Quilt

As I mentioned, don’t push too hard, just use gentle bursts of pressure where you believe a strip to be – if you are in the right spot, you should hear the Velcro connecting.
And that’s it! Sit back and admire your afternoon’s accomplishment and enjoy the benefits of having your own design wall.
If I want to place a finished quilt top on the design wall, the weight of it might cause it to fall down, so to counteract that problem, I will place a number of pins across the top of the quilt, and between them and the static that is created between the batting and the cotton, the quilt top stays where it should.
I hope you feel inspired to make your own design wall for your sewing space, no matter how big or small!
Find out more about Samantha Dorn and her Design Wall:
Website: aquapaisleystudio.com
Instagram: @aqua_paisley